 Save to Pinterest
 There's something about watching honey cascade down the side of a dessert that stops conversation mid-sentence. I first made this Honey-Drip after a farmers market morning where a vendor handed me a jar of wildflower honey so clear it looked like liquid amber, and I knew immediately I had to build something around it. The concept felt wild at first—a cake with an actual pot of honey in the center—but once I tasted that first forkful, the warm honey meeting the delicate sponge, I understood the magic wasn't just in the ingredient, it was in the moment of interaction, that little ritual of dipping each bite.
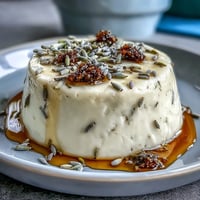
I served this to a dinner party on a rainy October evening, and I'll never forget the way my neighbor—the one who always orders plain vanilla—leaned back after her first bite and just smiled without speaking. That's when I knew this dessert was doing something right, that it had moved past recipe territory into something that mattered. The honey-cream filling had just enough tartness from the mascarpone to balance the sweetness, and the texture of each thin layer made it elegant without pretension.
Ingredients
- All-purpose flour: Use a light hand when measuring—I scoop and level rather than sifting now, which gives me better, more consistent results.
- Baking powder and baking soda: The combination creates lift and a tender crumb that holds the honey moisture without becoming dense.
- Unsalted butter, softened: Room temperature is non-negotiable here; cold butter won't cream properly and you'll lose that fluffy structure.
- Honey: Don't use the crystallized stuff from the back of the cupboard—this dessert deserves high-quality, pourable honey, and the floral notes make a real difference.
- Eggs: They bind the batter and add richness; make sure they're also at room temperature for smooth incorporation.
- Heavy cream and mascarpone: The cream whips into clouds, and the mascarpone adds subtle tang and density that prevents the filling from being cloying.
- Toasted almonds: Toasting them yourself takes five minutes and completely changes the flavor profile—don't skip this step.
Tired of Takeout? 🥡
Get 10 meals you can make faster than delivery arrives. Seriously.
One email. No spam. Unsubscribe anytime.
Instructions
- Prepare Your Pans and Heat:
- Preheat the oven and grease those pans while it's warming up. The oven will be ready when you're ready, and you won't rush the mixing.
- Combine Dry Ingredients:
- Whisk your flour, baking powder, soda, and salt in a bowl—this aerates the flour and distributes the leavening agents evenly. It takes barely a minute but changes everything about texture.
- Cream Butter and Sugar:
- Beat them together until the mixture looks pale and slightly fluffy, about two to three minutes. You're essentially whipping air into the butter, which will help the cake rise and stay light.
- Incorporate Wet Ingredients:
- Add the honey first, then eggs one at a time, then vanilla. Each time you add something new, beat until it's fully absorbed before moving on—this prevents a curdled, broken mixture.
- Alternate Dry and Wet:
- Start and end with dry ingredients, adding them in thirds while pouring milk between. The flour on the outside protects the gluten from overdeveloping, which keeps your cake tender rather than tough.
- Bake and Cool Completely:
- Pour batter into pans and bake until a toothpick comes out clean, roughly 22–25 minutes. Let cakes cool entirely—warm cakes crumble when you slice them horizontally, so this step is patience that pays off.
- Make the Honey Cream:
- Whip cream to soft peaks, fold in honey and mascarpone, then whip again to stiff peaks. Don't overdo this or you'll end up with butter, but do make sure it's thick enough to hold layers without squishing out.
- Slice and Layer:
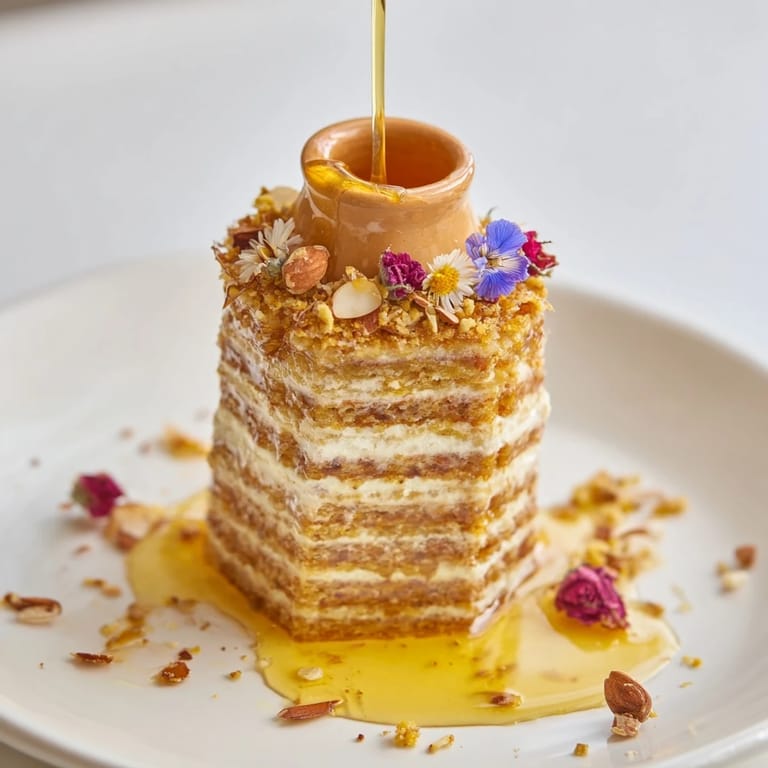
- Once cool, slice each cake in half horizontally using a serrated knife and a gentle sawing motion—this keeps layers even and prevents crumbs from flying everywhere. Stack layers with honey cream between each one, building something that feels architectural.
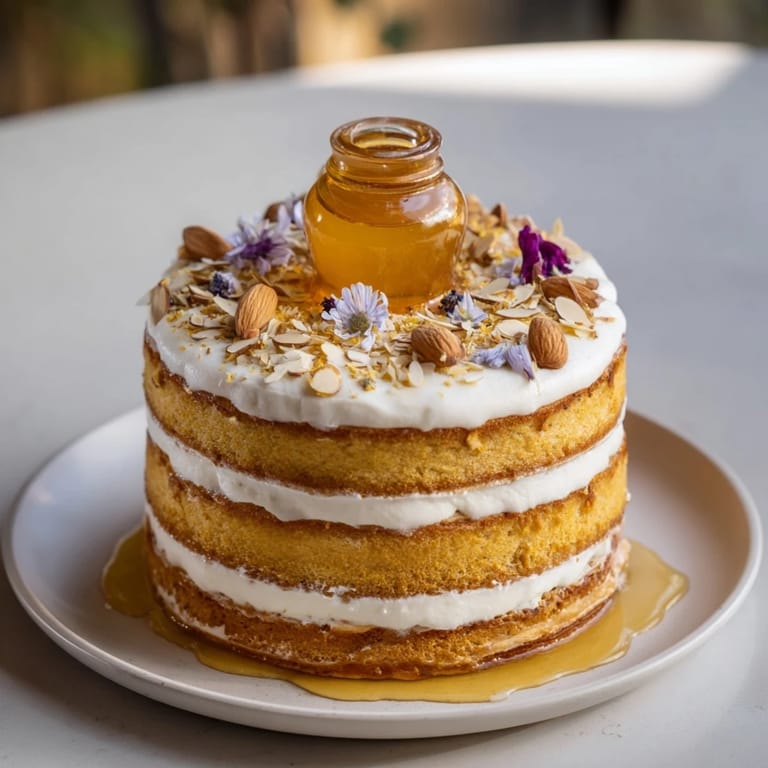
- Create the Central Honey Well:
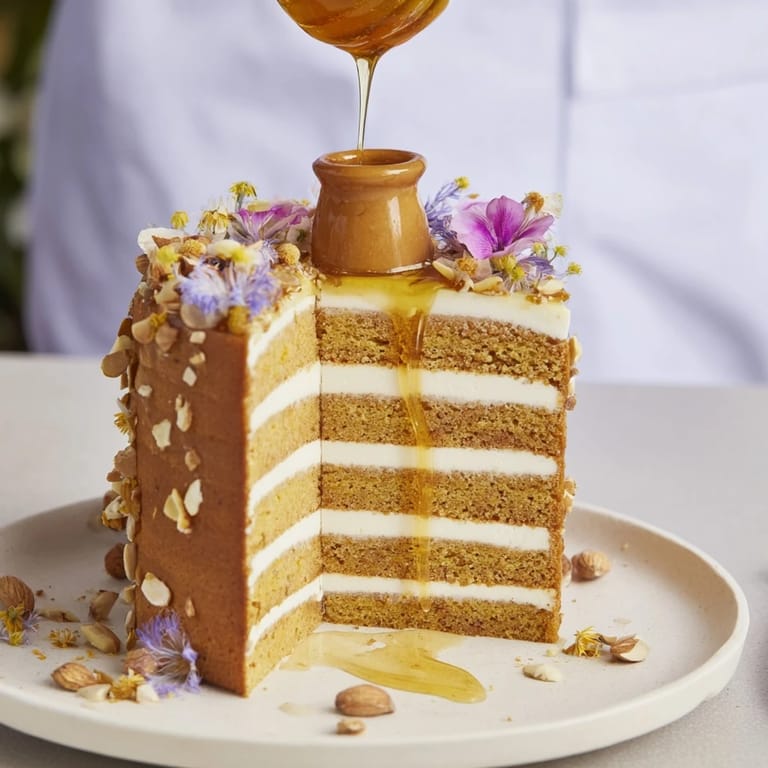
- This is the moment where the dessert becomes special—carefully cut a 3-inch hole from the center using a round cutter and a gentle downward twist. Nestle your small glass or ceramic honey pot into the hole, making sure it sits level.
- Fill and Garnish:
- Pour your best honey into the pot, scatter toasted almonds over the top, add edible flowers if you have them, and drizzle any remaining honey around the surface. This is where you step back and admire what you've built.
 Save to Pinterest
 What strikes me most about this dessert is how it transforms the moment of eating. It's no longer just you and a fork—it's you and your guest and this little ritual of dipping, savoring, sharing a look that says, 'This is good.' That's the real recipe.
Why Honey Matters More Than You Think
I used to think honey was honey, just a sweetener that looked pretty on the shelf. Then I started tasting single-origin honeys—wildflower, acacia, clover, orange blossom—and realized each one carries its own personality. Wildflower honey has complexity and almost floral whispers, while acacia is more neutral and gentle. In this cake, where honey isn't just an ingredient but the star, that choice becomes an act of intentionality. The better your honey, the more someone will taste it and pause and ask what's different, and you get to say simply, 'good honey.'
The Magic of Interactive Desserts
Somewhere along the way, desserts became performances meant to be admired before eaten, plated with tweezers and geometry. This Honey-Drip is the opposite—it asks people to participate, to engage with their hands and their senses, to dip and taste and decide when and how much. There's intimacy in that kind of eating, a generosity in a dessert that says 'come in, this is for you to enjoy however feels right.' It's why people remember it. It's why they ask for the recipe before they've even finished eating.
Pairing and Presentation
This dessert wants to be surrounded by intention. Moscato or late-harvest Riesling beside it makes sense—sweet but not heavy, with enough acidity to cut through the richness. Serve it on a cake stand or shallow platter so the honey pot sits naturally, and let people serve themselves rather than plating individual slices. The edible flowers aren't necessary, but they soften the presentation and make it feel like something special happened in your kitchen.
- If you can't find edible flowers, candied lemon peel or a sprinkle of sea salt adds visual interest and flavor contrast.
- Warm the honey slightly before serving—it flows more luxuriously and the temperature contrast against the cool cake is part of the experience.
- This dessert holds for up to two days refrigerated, wrapped gently, and actually improves as the layers settle and flavors marry.
 Save to Pinterest
 This dessert proved to me that sometimes the most memorable moments in cooking come from embracing something slightly theatrical, something that asks people to slow down and participate. That's where the real magic lives.