 Save to Pinterest
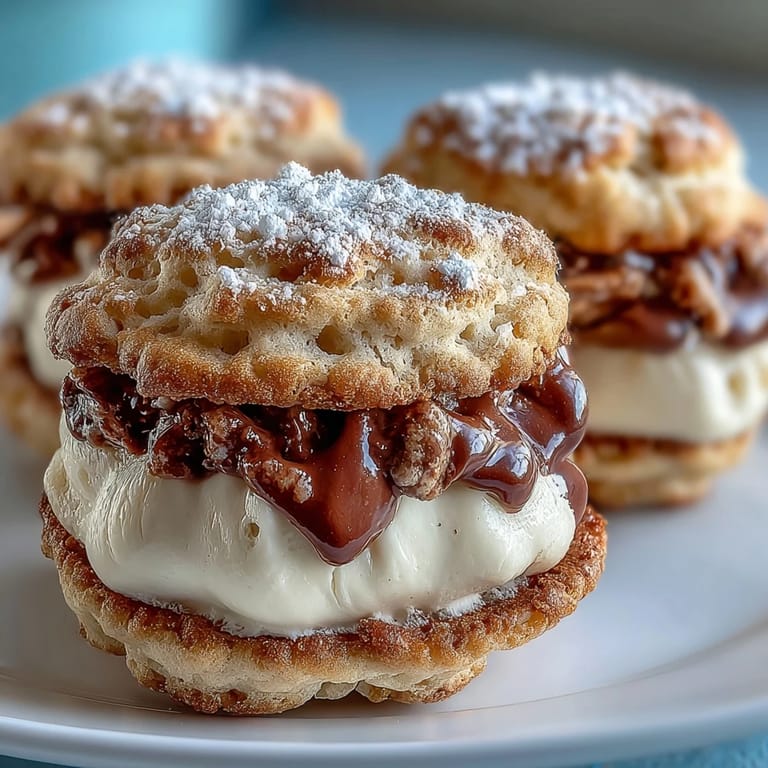
 My nephew was obsessed with Cookie Run Kingdom, so when he asked me to make Milk Cookie sandwiches, I had no idea what I was getting into. I found myself staring at fan art trying to recreate something that existed only in a video game, armed with nothing but butter, sugar, and pure determination. The result? Delicate, pillowy cookies with a vanilla cream so smooth it felt like biting into clouds. Now whenever he visits, these are the first thing he asks for, and honestly, I can't blame him.
I'll never forget the Saturday afternoon when my sister's book club came over and I nervously set out a plate of these cookies. One person grabbed two, then three, and suddenly they were gone faster than I could restock the plate. My sister caught my eye and grinned, and I realized these weren't just cookies anymore—they were the thing people would remember about that afternoon.
Ingredients
- All-purpose flour (2 cups): The foundation that keeps these cookies tender rather than tough, so resist the urge to pack it down when measuring.
- Unsalted butter (1/2 cup for dough, 1/4 cup for filling): Using unsalted lets you control the salt level and tastes fresher, so make sure it's softened to room temperature before creaming.
- Granulated sugar (2/3 cup): This sweetens the dough while keeping the cookies delicate, so don't skip the creaming step to make sure it's fully incorporated.
- Large egg (1): Acts as a binder and helps create that soft crumb, so make sure it's at room temperature for even mixing.
- Milk (2 tbsp for dough, 1 tbsp for filling): Adds moisture and a subtle richness that reminds you these are special, not just plain sugar cookies.
- Vanilla extract (1 tsp for dough, 1 tsp for filling): The quiet star that makes people say they taste something special without knowing what it is.
- Baking powder (1/2 tsp): A gentle leavening that keeps the cookies light and pillowy rather than dense.
- Salt (1/4 tsp): Brings out all the vanilla and sweetness, so don't think you can skip it.
- Powdered sugar (1 cup for filling): Sifting it before using prevents lumps that would ruin your smooth, dreamy frosting.
Tired of Takeout? 🥡
Get 10 meals you can make faster than delivery arrives. Seriously.
One email. No spam. Unsubscribe anytime.
Instructions
- Prep your workspace:
- Preheat your oven to 350°F and line two baking sheets with parchment paper so your cookies don't stick and you can slide them right off when golden.
- Combine dry ingredients:
- Whisk together flour, baking powder, and salt in a bowl, making sure there are no hidden pockets of baking powder that could create bitter spots in your cookies.
- Cream the butter and sugar:
- Beat softened butter with sugar until it looks pale and fluffy, about 2–3 minutes—this is where you're aerating the dough, so take your time and listen for the mixer to sound lighter.
- Add wet ingredients:
- Mix in the egg, milk, and vanilla until everything is smooth and combined, scraping down the bowl to make sure nothing hides at the bottom.
- Bring dough together:
- Gradually add your dry ingredients to the wet mixture, stirring just until a soft dough forms—overmixing at this point makes tough cookies, so stop as soon as you don't see flour streaks.
- Shape the cookies:
- Roll the dough into 1-inch balls and place them 2 inches apart on your prepared sheets, giving them plenty of room to spread without touching.
- Flatten gently:
- Press each ball with your palm or the bottom of a glass to about 1/4-inch thickness, being gentle so you don't compress all that air you just worked into the dough.
- Bake until golden:
- Bake for 10–12 minutes until the edges are just starting to turn golden but the centers still look slightly underdone—they'll continue cooking on the hot pan as they cool.
- Cool completely:
- Let the cookies rest on the baking sheet for a minute, then transfer to a wire rack and wait until they're completely cool before filling, or the cream will melt.
- Make the cream filling:
- Beat softened butter until smooth, gradually add sifted powdered sugar, then milk and vanilla, beating until fluffy and light—this should take about 3–4 minutes with an electric mixer.
- Assemble the sandwiches:
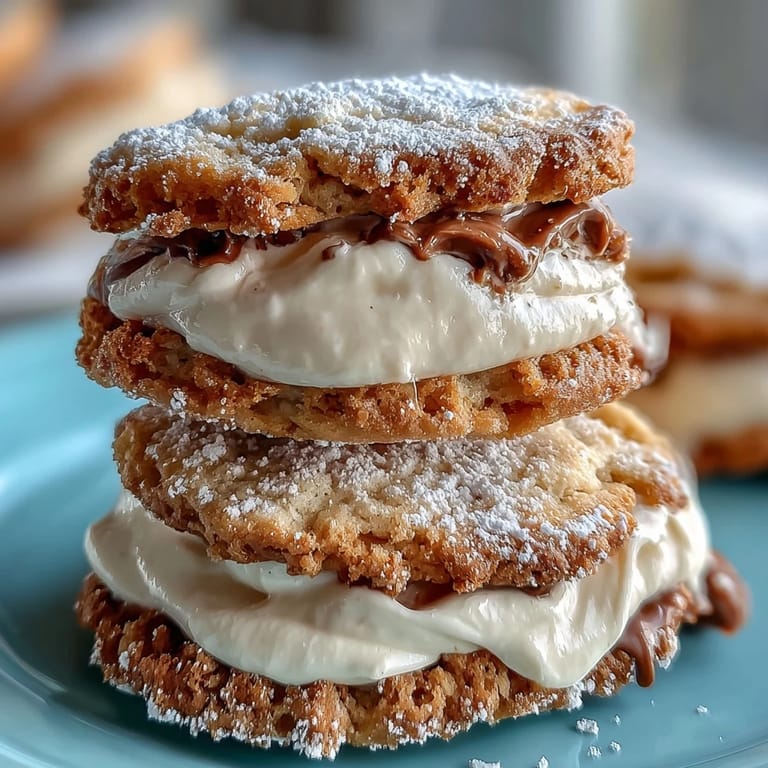
- Spread or pipe about 1 tablespoon of cream filling onto the flat side of half your cooled cookies, then top with the remaining cookies to create perfect little sandwiches.
 Save to Pinterest
 There's something magical about biting into a sandwich cookie and feeling both the delicate snap of the cookie shell and the smooth give of the cream filling at the same time. My nephew once told me these tasted like happiness, and I realized he was right—some food is just about nourishment, but these are about creating a moment worth remembering.
Getting the Texture Right
The key to these cookies isn't secret ingredients or complicated techniques—it's understanding when to stop. When you're creaming the butter and sugar, you want it light and fluffy, which takes longer than you think but shorter than you might overdo it. When you're mixing in the dry ingredients, you stop as soon as the flour disappears, not when the dough looks perfectly smooth. And when you're baking, you pull them out when the edges are golden but the centers look ever so slightly underdone, because they keep cooking on the hot pan.
Why Vanilla Matters Here
These cookies lean on vanilla to carry the flavor, so using real vanilla extract instead of imitation makes a noticeable difference. The imitation version can taste a bit sharp or artificial, while real vanilla creates that subtle warmth that makes people say they taste something special without quite knowing what. You don't need expensive vanilla, just honest vanilla that tastes like vanilla should.
Storage and Serving
These sandwich cookies stay fresh for up to three days in an airtight container, though they rarely last that long in my house. Keep them in a cool, dry place away from sunlight, and if your kitchen is warm or humid, they'll soften faster than expected. Serve them at room temperature for the best flavor and texture, and consider making a double batch because people will ask for them again.
- For a chocolate twist, add 2 tablespoons of cocoa powder to the cookie dough and reduce the flour by 2 tablespoons to keep the proportions balanced.
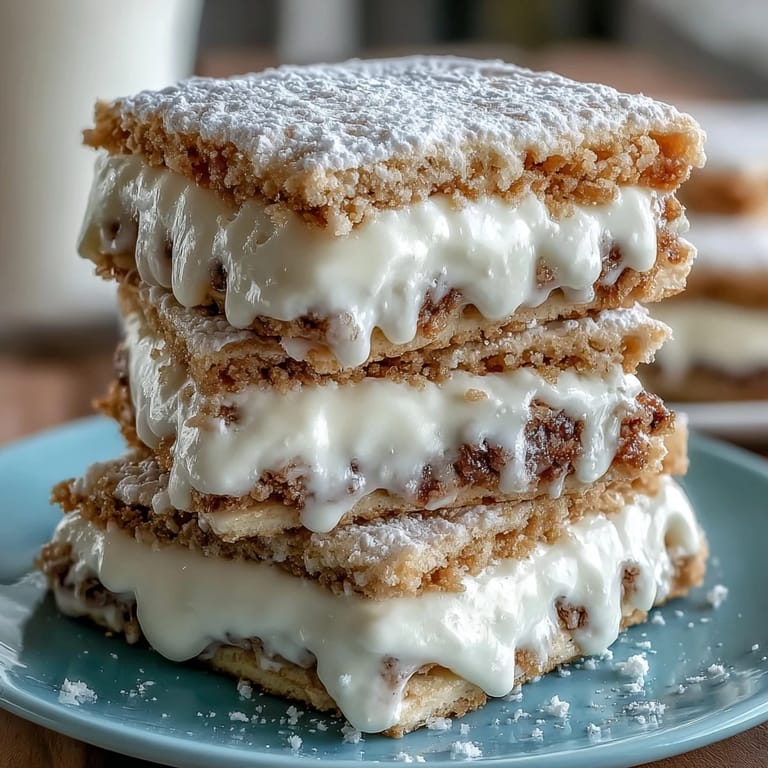
- Decorate the edges with sprinkles or a light dusting of powdered sugar for a festive look that makes them feel extra special.
- If you don't have an electric mixer, you can cream the butter and sugar by hand, it just takes more arm power and patience.
 Save to Pinterest
 Making these cookies feels like capturing a little piece of joy in edible form. They're proof that sometimes the most memorable treats come from the simplest ingredients and the willingness to show up for someone with homemade care.
Recipe FAQs
- → What gives the cookies their soft texture?
The combination of softened butter, milk, and creaming the sugar creates a tender and soft dough, which bakes into delicate cookies.
- → How can I make the cream filling smooth?
Beat the butter until light and fluffy before gradually adding powdered sugar, milk, and vanilla. This ensures a creamy and smooth texture perfect for spreading.
- → Can I add flavors to these cookies?
Yes, adding cocoa powder to the dough introduces a rich chocolate note. You can also decorate with sprinkles for visual appeal.
- → How should I store these sandwich cookies?
Keep them in an airtight container at room temperature for up to three days to maintain freshness and softness.
- → What is the ideal baking time for these cookies?
Bake for 10 to 12 minutes until edges are just golden, ensuring a tender interior without over-baking.