 Save to Pinterest
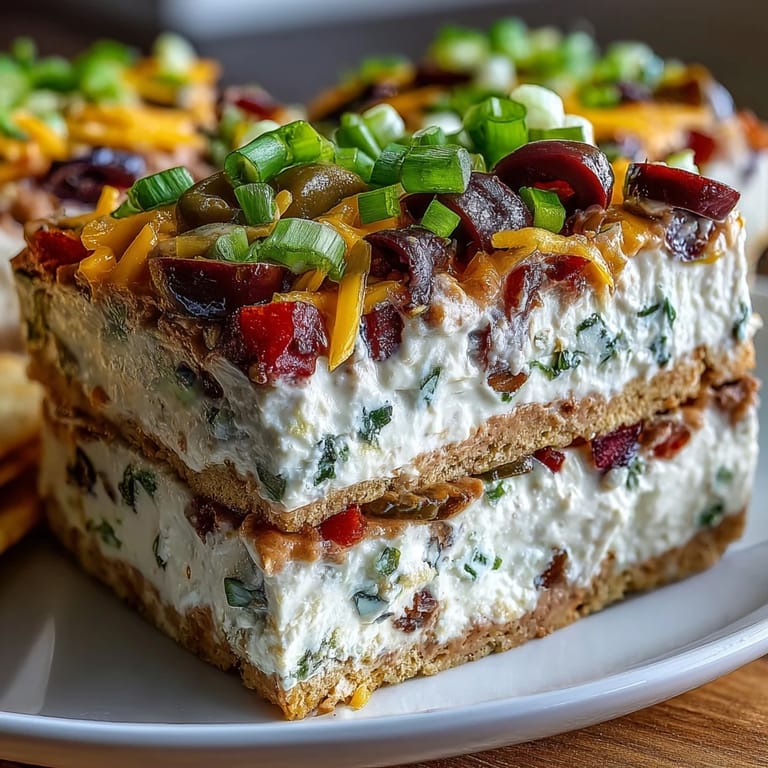
 My sister showed up once with this dip balanced on her knee, still covered in plastic wrap, and the entire party stopped to watch her peel it back. The layers were so distinct you could actually see every color from across the room. Someone asked if she'd laminated it, and honestly, that's the magic: it looks professional but comes together in about the time it takes to preheat an oven you won't even use. I made it myself the following week and understood why she grinned the whole drive over.
I brought this to a backyard barbecue where the host had forgotten to buy appetizers, and by halftime it was just an empty dish with a few cheese shreds clinging to the edges. A neighbor asked if I'd brought a backup because people kept circling back. I hadn't, but I did take a photo of the empty platter as proof that sometimes the simplest things win. That dip earned me three text requests for the recipe before I even got home.
Ingredients
- Refried beans: These form the sturdy, savory foundation that holds everything together, and adding cumin and chili powder directly into them means every layer tastes intentional instead of bland.
- Sour cream: Blended with cream cheese, this creates a tangy, spreadable layer that cools down the spice and adds richness without feeling heavy.
- Cream cheese: Softening it first is key because cold cream cheese will tear the bean layer underneath instead of gliding smoothly over it.
- Lime juice: Just a tablespoon brightens the creamy layer and keeps it from tasting too one note or flat.
- Chunky salsa: Draining it before layering prevents a soggy middle, and the chunky texture adds little bursts of tomato and pepper in every scoop.
- Fresh tomato: Dicing it small ensures it integrates into the salsa layer instead of creating big watery pockets.
- Red onion: Finely chopped onion gives a sharp bite that cuts through the creaminess without overpowering the dip.
- Fresh cilantro: This adds a bright, herbal note that makes the whole thing taste less like a can and more like you care.
- Shredded cheddar cheese: It melts slightly as the dip sits, creating little pockets of gooey richness on top.
- Black olives: Their briny, salty pop contrasts with the creamy layers and adds a Mediterranean edge.
- Green bell pepper: Diced small, it contributes crunch and a mild sweetness that balances the heat.
- Green onions: Sliced thin, these bring a fresh, mild onion flavor and a pop of color that makes the top layer look alive.
Tired of Takeout? 🥡
Get 10 meals you can make faster than delivery arrives. Seriously.
One email. No spam. Unsubscribe anytime.
Instructions
- Season the bean base:
- Stir the cumin and chili powder into the refried beans until evenly mixed, then spread the mixture across the bottom of your serving dish in an even layer. Press it down gently with the back of a spoon so it holds its shape under the weight of the layers above.
- Blend the creamy layer:
- In a separate bowl, beat together the sour cream, softened cream cheese, lime juice, and salt until smooth and fluffy. Spread this carefully over the bean layer, working from the center outward to avoid dragging beans up into the cream.
- Build the salsa layer:
- Combine the drained salsa, diced tomato, red onion, and cilantro in a bowl, then spoon it evenly over the creamy layer. Tilt the bowl slightly if needed to drain off any extra liquid pooling at the bottom.
- Add the toppings:
- Scatter the cheddar cheese evenly across the salsa, then distribute the black olives, green bell pepper, and green onions over the cheese in a way that looks random but covers the whole surface. Press them down lightly so they nestle into the cheese instead of rolling off.
- Chill and serve:
- Cover the dish with plastic wrap and refrigerate for at least thirty minutes to let the flavors settle and the layers firm up. Serve cold with sturdy tortilla chips or thick vegetable sticks that can handle the weight.
 Save to Pinterest
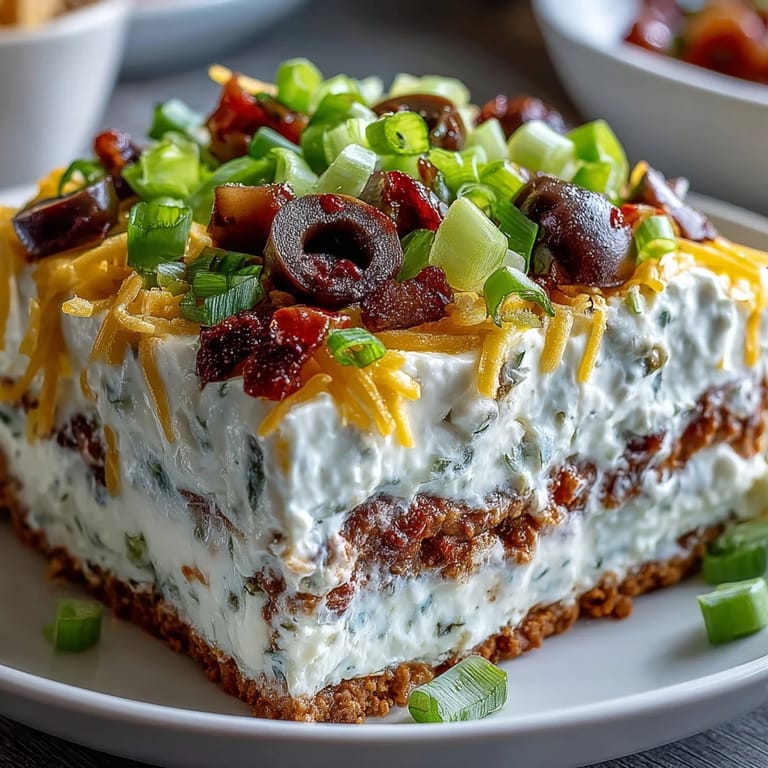
 A friend once told me this dip reminded her of those clear layered sand art bottles we made as kids, except this one you could actually eat. She was right. There's something satisfying about seeing every component stacked so clearly, knowing that each scoop will deliver all of them at once. It turns a simple snack into a little edible monument to preparation and patience.
Choosing Your Serving Dish
A clear glass dish shows off the layers and makes the dip look like you spent way more time than you did. If you only have an opaque bowl, go shallow and wide so people can see the colorful toppings and get excited before they even dip a chip. I learned the hard way that deep, narrow bowls make it impossible to scoop without destroying the structure, and then it just looks like chunky salsa with cheese floating in it.
Making It Ahead
You can assemble this up to four hours in advance, but add the toppings only an hour before serving to keep them from wilting or sinking into the layers below. I once made it the night before a potluck, and by morning the cheese had absorbed so much moisture it looked like a science experiment. Now I prep the base and creamy layers early, then finish the rest right before I walk out the door.
Customizing the Layers
Swap Greek yogurt for half the sour cream if you want a tangier, lighter feel, or add a thin layer of guacamole between the beans and cream for extra richness. If your crowd loves heat, fold diced jalapeños into the salsa layer or sprinkle them on top where people can see them and make informed decisions. I've also used pepper jack instead of cheddar, and it turns the whole thing up a notch without changing the structure.
- Add a layer of seasoned ground beef or shredded chicken between the beans and cream for a heartier, non vegetarian version.
- Use a dairy free cream cheese and cashew based sour cream to make it vegan, and skip the cheese or use a plant based shred.
- Try black beans instead of refried for a chunkier base, or mash them slightly for a rustic texture that still holds its shape.
 Save to Pinterest
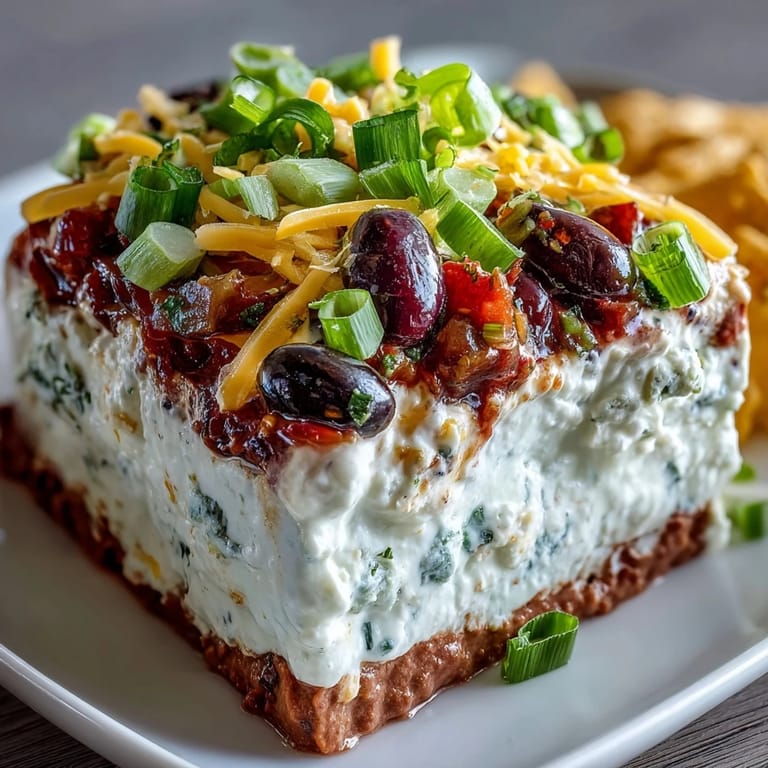
 This dip has rescued more last minute gatherings than I can count, and it never stops looking like you planned ahead. Make it once and you will understand why people keep asking you to bring it again.
Recipe FAQs
- → Can I make this dip ahead of time?
Yes, you can assemble the layers up to 4 hours before serving. Keep it covered and refrigerated, then add the final toppings just before serving to maintain freshness and crunch.
- → What can I substitute for sour cream?
Greek yogurt works beautifully as a lighter alternative, providing similar creaminess with extra protein. You can also use Mexican crema for authentic flavor.
- → How do I prevent the layers from mixing?
Spread each layer gently using the back of a spoon, starting from the center and working outward. Drain excess liquid from the salsa before adding, and chill between layers if needed.
- → Can I add guacamole to this dip?
Absolutely! Add a layer of guacamole between the bean layer and cream cheese layer for extra richness. This creates a 5-layer dip with wonderful avocado flavor.
- → What's the best way to serve this dip?
Serve in a clear glass dish to showcase the beautiful layers. Accompany with sturdy tortilla chips, pita chips, or fresh vegetable sticks like bell peppers and celery for dipping.
- → How long will leftovers keep?
Store covered in the refrigerator for up to 2 days. The texture may soften as the layers settle, but the flavor remains delicious. Stir before serving leftovers.