Save to Pinterest
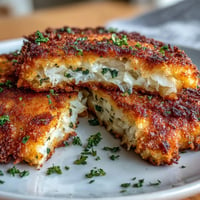
 My first attempt at keto baking ended with my kitchen smelling like burnt cauliflower and me staring at a sad, soggy mess on the counter. That failure actually led me here, to this recipe that finally cracked the code: cauliflower bread that's crispy on the outside, substantial enough to hold gooey cheese, and so satisfying you won't miss regular bread at all. The breakthrough came when I stopped treating cauliflower like it wanted to be bread and started embracing what it actually is, then building around that. Now this grilled cheese has become my go-to when I'm craving comfort food without the carb guilt.
I made these for my friend Sarah, who'd been keto for three months and was visibly tired of egg-based breakfasts and cheese crisps. Watching her bite into one and actually pause, surprised, was the moment I realized this wasn't just a workaround recipe. She texted me the next day asking for the ingredients list, and now her kids eat them too (they have no idea they're low-carb).
Ingredients
- Cauliflower florets (1 medium head, about 700 g): The foundation of everything, and the texture matters more than you'd think, so pulse it finely until it looks like couscous, not chunky rice.
- Large eggs (2): Your binding agent and the reason this bread actually holds together, so don't skip them or go smaller.
- Shredded mozzarella cheese (1 cup for bread, 1/2 cup for filling): Mozzarella gives you stretch and melt without overpowering the flavor, which is exactly what you need here.
- Grated Parmesan cheese (1/4 cup): This adds a subtle nuttiness and helps the bread brown beautifully in the oven.
- Garlic powder (1/2 teaspoon): Don't use fresh garlic or it'll make the bread watery, powdered stays dry and distributes evenly.
- Dried oregano (1/2 teaspoon): A small amount keeps it savory without making it taste medicinal, which dried herbs can do if you're not careful.
- Salt and black pepper (1/2 teaspoon salt, 1/4 teaspoon pepper): Season as you go because the cheese adds saltiness too.
- Unsalted butter (4 tablespoons, softened): Softened, not melted, so it spreads evenly and browns gorgeously in the pan.
- Shredded sharp cheddar cheese (1 1/2 cups): Sharp cheddar gives you actual flavor that doesn't disappear into the bread, and it melts with character.
Tired of Takeout? 🥡
Get 10 meals you can make faster than delivery arrives. Seriously.
One email. No spam. Unsubscribe anytime.
Instructions
- Prep your cauliflower like you mean it:
- Pulse your florets in the food processor until they're finely riced, then microwave for five minutes. This step seems simple but it's where most people fail, so really process it fine.
- Squeeze out the moisture (this is non-negotiable):
- Transfer the hot cauliflower to a kitchen towel and squeeze like you're wringing out laundry, because excess water is what makes bread soggy and dense. Don't be gentle here.
- Mix your bread base until it's cohesive:
- Combine the squeezed cauliflower, eggs, mozzarella, Parmesan, and seasonings in a bowl and mix until it feels like a thick, cheese-studded paste. The mixture should hold together when you press it, not be crumbly.
- Shape and bake until golden:
- Shape and bake until golden:
- Divide into eight portions and flatten each into a 1/2-inch rectangle on parchment paper, then bake at 400°F for 18-20 minutes until they're golden brown and feel firm to the touch. Let them cool for five minutes so they set up properly.
- Assemble your sandwiches with butter and cheese:
- Butter one side of each slice, place four slices buttered-side-down in a hot nonstick skillet, top with your cheese mixture, then cap with the remaining slices butter-side-up. This is just like a regular grilled cheese, so trust what you already know.
- Cook low and slow until melty:
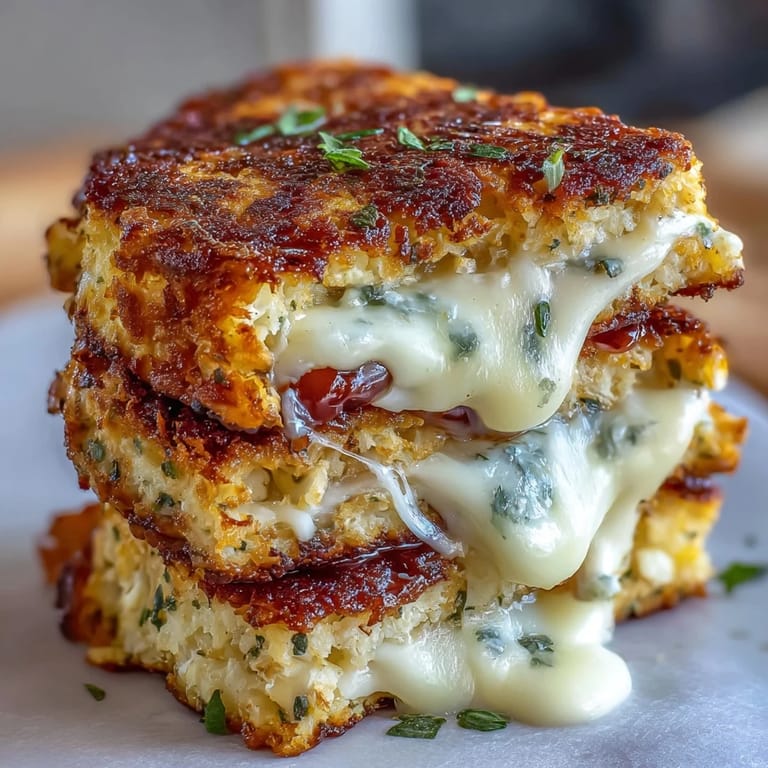
- Cook each side for 2-3 minutes on medium heat, pressing gently with your spatula, until the bread is golden and the cheese is visibly melted inside. Listen for that gentle sizzle, not aggressive popping.
 Save to Pinterest
 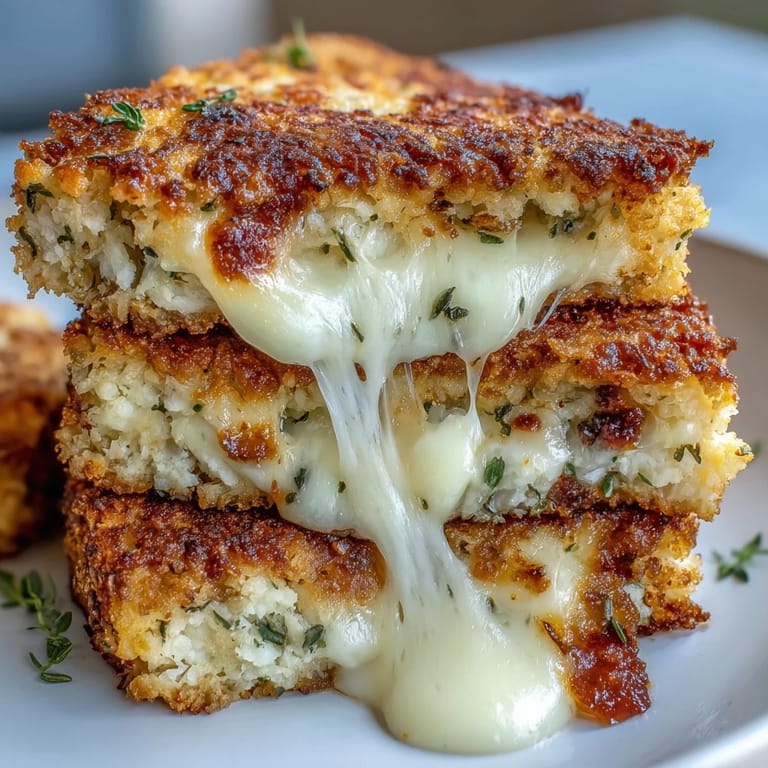 Save to Pinterest
  Save to Pinterest
 There's something oddly moving about taking something as humble as riced cauliflower and turning it into something that makes people genuinely happy. My partner, who was skeptical about every keto experiment I've attempted, asked for seconds and actually seemed to enjoy them rather than tolerate them. That's when a recipe stops being about the diet and becomes about the food itself.
The Moisture Question
Cauliflower is basically water in vegetable form, and that's the biggest obstacle to making this work. When I first made these, I thought a quick spin in the microwave was enough, but I learned the hard way that you need to actively remove moisture before mixing. The towel-squeezing method looks ridiculous and feels like overkill, but it's genuinely the difference between bread that holds its shape and bread that turns into mush.
Cheese Combinations to Consider
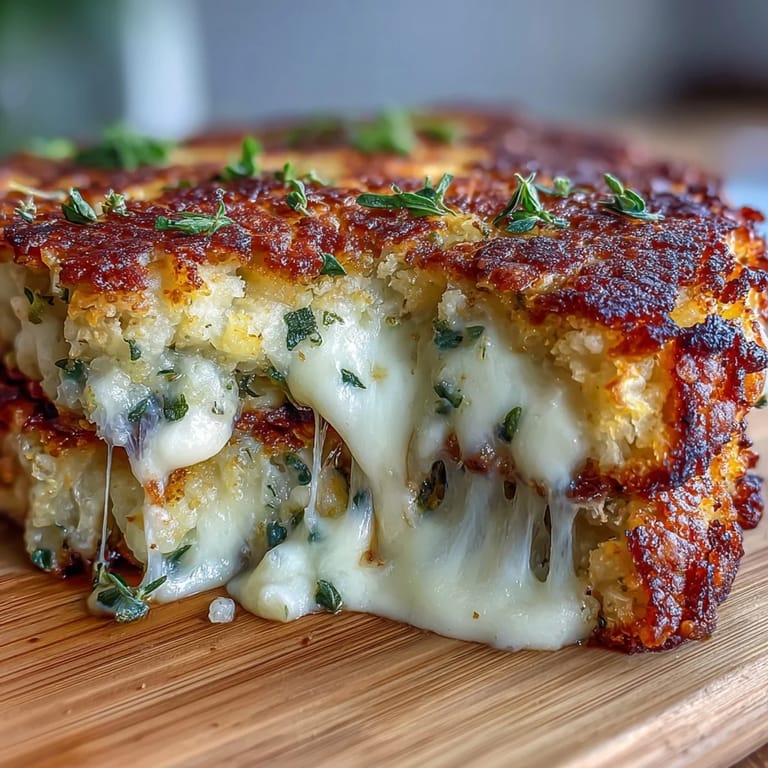
I started with sharp cheddar because it's forgiving and flavorful, but after experimenting, I've found that mixing cheeses actually makes a more interesting sandwich. Gruyère adds nuttiness, Swiss gives you a different kind of melt, and smoked cheddar completely transforms the flavor profile if you're bored. The base recipe works with any melty cheese, so treat it as a starting point rather than a rule.
Timing and Temperature Matter
This recipe is medium difficulty mostly because of the timing involved, not because any single step is complicated. The oven temperature and baking time are specific because too hot and your bread exterior browns before the inside sets, too cool and it never firms up enough. Similarly, your skillet temperature during the grilled cheese portion directly affects whether you get a melted interior with a crispy exterior or a burnt outside with cold cheese inside.
- Always let your butter soften to room temperature so it spreads evenly and browns instead of burning.
- If your cauliflower bread seems fragile after baking, give it a full five minutes to cool rather than rushing into the pan.
- You can make the bread slices up to two days ahead and store them in the fridge, then assemble and cook fresh when you want them.
 Save to Pinterest
  Save to Pinterest
  Save to Pinterest
 This grilled cheese sits at that perfect intersection where diet food actually tastes good enough that you'd make it even without the dietary restriction. That's the real victory.
Recipe FAQs
- → How do I make the cauliflower bread sturdy enough for grilling?
The key is removing excess moisture from the riced cauliflower using a kitchen towel. Squeeze out as much liquid as possible before mixing with eggs and cheese. Baking the slices first creates a firm, bread-like texture that holds up well on the skillet without falling apart.
- → Can I make the cauliflower bread ahead of time?
Yes, bake the cauliflower slices completely and let them cool. Store in an airtight container in the refrigerator for up to 3 days. When ready to assemble, butter and grill as usual—the texture remains excellent for making satisfying sandwiches.
- → What cheeses work best for the filling?
Sharp cheddar provides bold flavor while mozzarella delivers the perfect melt. Gruyère, Swiss, or provolone create delicious variations. Just avoid fresh cheeses that release too much moisture when heated, which could make your sandwich soggy.
- → Is this suitable for meal prep?
The cauliflower bread freezes beautifully after baking. Layer parchment paper between slices and freeze for up to 2 months. Thaw in the refrigerator overnight, then assemble with cheese and grill for a quick, satisfying meal any time.
- → What can I serve with this?
Pair with a crisp side salad or keto-friendly tomato soup for a complete comfort meal. The sandwiches also work well alongside roasted vegetables or as part of a low-carb lunch plate with pickles and olives.