 Save to Pinterest
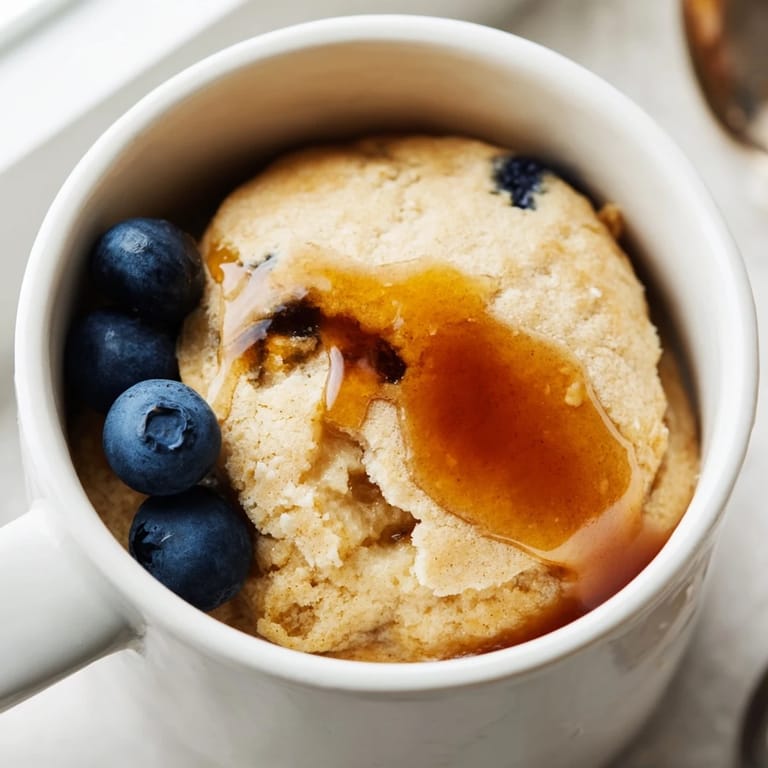
 There's something almost magical about a microwave mug pancake—it arrived in my life during a morning when I was running twenty minutes late, standing in my kitchen in yesterday's clothes, staring at an empty skillet. I'd heard whispers about mixing pancake batter straight in a mug and nuking it, dismissed it as kitchen folklore, but desperation breeds experimentation. Two minutes later, I was peeling a puffy, golden pancake from ceramic, and I haven't looked back since.
I made these for my nephew once when he was home from college, bored and hungry at 11 AM on a Saturday. He watched the whole thing unfold—the dry ingredients tumbling in, the milk hitting them, the smell starting to change inside the microwave like something alive. When it came out, he took one bite and asked how I'd kept this secret his whole life. Now he sends me pictures of his dorm room attempts from 2000 miles away.
Ingredients
- All-purpose flour: Four tablespoons is the sweet spot—enough structure without heaviness, and it measures out to nothing, which is why this works in a mug.
- Baking powder: That quarter teaspoon is doing all the heavy lifting here; don't skip it or you'll get a dense little cake instead of something cloud-like.
- Granulated sugar: One tablespoon brings sweetness and helps the top get slightly caramelized in the microwave's concentrated heat.
- Salt: A pinch might seem microscopic, but it balances everything and makes the vanilla sing.
- Milk: Three tablespoons of any kind—whole, skim, oat, almond—they all work, though whole milk gives the richest texture.
- Unsalted butter, melted: One tablespoon plus a bit extra for greasing; this creates that tender crumb and the slightly crispy bottom.
- Vanilla extract: A quarter teaspoon transforms it from plain to something that tastes like you tried.
- Maple syrup: One to two tablespoons for topping; real syrup matters more here than you'd think because it's the final flavor.
- Optional toppings: Fresh berries vanish into the batter when microwaved, chocolate chips do too, so add these last or go for something that won't melt.
Tired of Takeout? 🥡
Get 10 meals you can make faster than delivery arrives. Seriously.
One email. No spam. Unsubscribe anytime.
Instructions
- Prepare your mug:
- Grab a microwave-safe mug that holds at least twelve ounces and quickly swipe the inside with a tiny dab of butter. This prevents sticking and isn't just busywork—it makes a real difference when you're eating straight from the vessel.
- Mix the dry team:
- Dump flour, baking powder, sugar, and salt directly into the mug and stir with a spoon until no white streaks remain. You're not making cake batter yet; just bringing these together.
- Add the wet ingredients:
- Pour in milk, melted butter, and vanilla, then stir gently until smooth and combined. This is where people falter—don't overbeat it into submission; stir just enough that the flour disappears, maybe fifteen seconds total.
- Microwave on high:
- Set the timer for ninety seconds, though start peeking after seventy because microwaves are tiny dictators. You're watching for the pancake to rise almost to the mug's rim and set on top while still looking tender.
- Rest and top:
- Let it cool for one minute because it'll be volcanic right out of the microwave, then drizzle syrup over the top and add whatever calling to you—berries, chocolate, powdered sugar, or all three if you're feeling it.
 Save to Pinterest
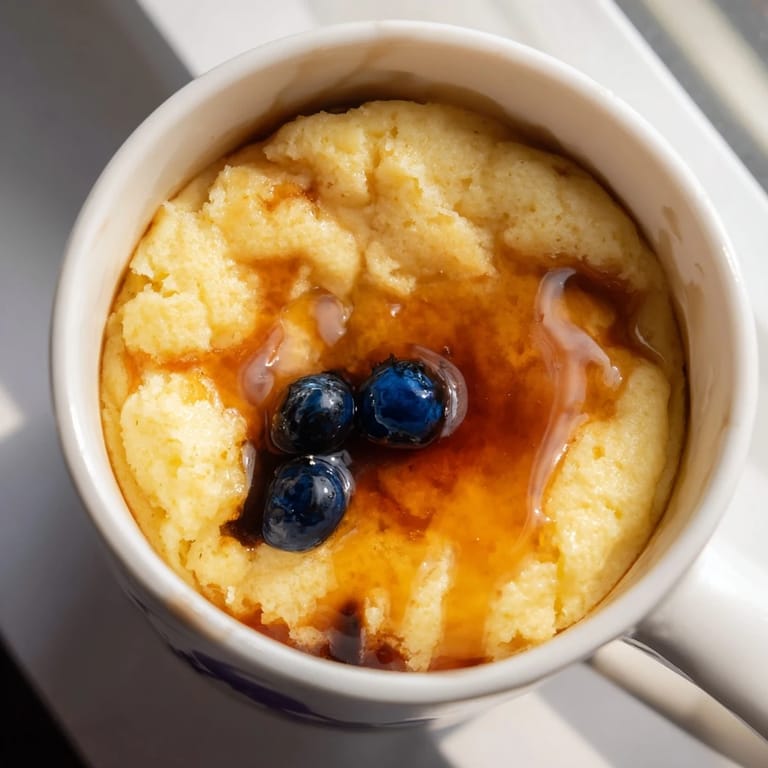
 The day I finally understood why people love these wasn't about rush or convenience—it was watching my grandmother, who hasn't cooked in fifteen years, make one. She followed the steps like she was uncovering something that had been hiding in plain sight all along, and when she took that first bite, she smiled the way people smile when they remember something they didn't know they'd forgotten.
Timing Your Microwave
Every microwave is different—some heat aggressively, others seem almost apologetic. The first time you make these, treat ninety seconds as a suggestion, not a command. Some machines finish in seventy seconds, others need the full two minutes. You'll know it's done when the top is no longer wet and the pancake has puffed up noticeably, though it'll still jiggle slightly in the center. After you make it once in your machine, you'll develop an instinct. The sound changes too—the microwave sounds different when something's rising versus when it's just heating.
Why Mug Pancakes Work
Microwaves work through steam and uneven heat, which sounds like a disaster but somehow creates a tender pancake in less time than boiling water for coffee. The concentrated heat trapped in the mug cooks the outside faster than the inside, locking in moisture while getting the edges just slightly crispy. It's more of a cross between a pancake and a mug cake, which is exactly why people either love them immediately or can't stop making them. You're not competing with cast iron here; you're doing something entirely different that happens to taste amazing.
Customizing Your Mug
Once you understand the basic formula, this becomes endlessly hackable. Add cocoa powder for chocolate, swap milk for buttermilk for tanginess, fold in a mashed banana for natural sweetness, or make it vegan by using plant-based milk and oil. The flavors that work best are the ones you add before microwaving—after it's cooked, you're mostly just topping. Some people go savory with a pinch of nutritional yeast, though that's venturing into territory I haven't fully explored.
- Cinnamon swirled into the dry mixture tastes like autumn no matter the calendar.
- A few chocolate chips or mini M&Ms create pockets of sweetness that don't fully melt away.
- Keep toppings simple so the pancake itself stays the star.
 Save to Pinterest
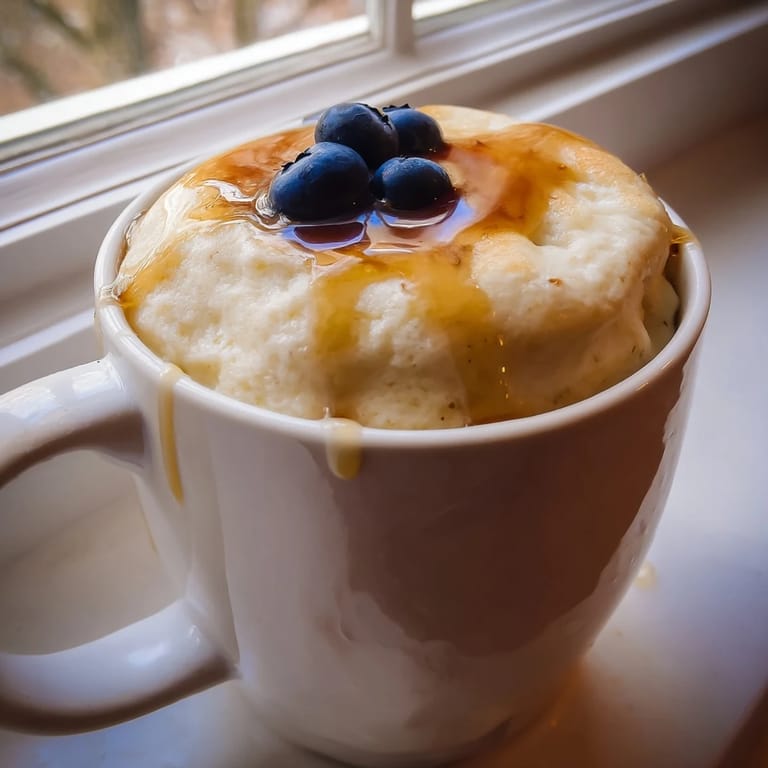
 These mug pancakes live in that rare category of food that's so simple it feels like it shouldn't work, and yet somehow it does. They've become my quiet rebellion against complicated breakfast.
Recipe FAQs
- → What type of mug is best for this method?
Use a large microwave-safe mug with at least 12 oz (350 ml) capacity to allow room for batter expansion and even cooking.
- → Can I add mix-ins before cooking?
Yes, folding in chocolate chips, blueberries, or other small toppings into the batter before microwaving adds extra flavor and texture.
- → How do I prevent the batter from overflowing?
Fill the mug only halfway to two-thirds full with batter to give space for rising during microwaving.
- → Can I use non-dairy milk alternatives?
Absolutely, plant-based milks like almond or oat milk work well and allow for vegan adaptations when substituting butter with oil.
- → How can I tell when the pancakes are fully cooked?
The surface will rise and set firmly. Cooking times may vary, but usually 90 seconds on high power is sufficient—check after 70 seconds to avoid overcooking.