 Save to Pinterest
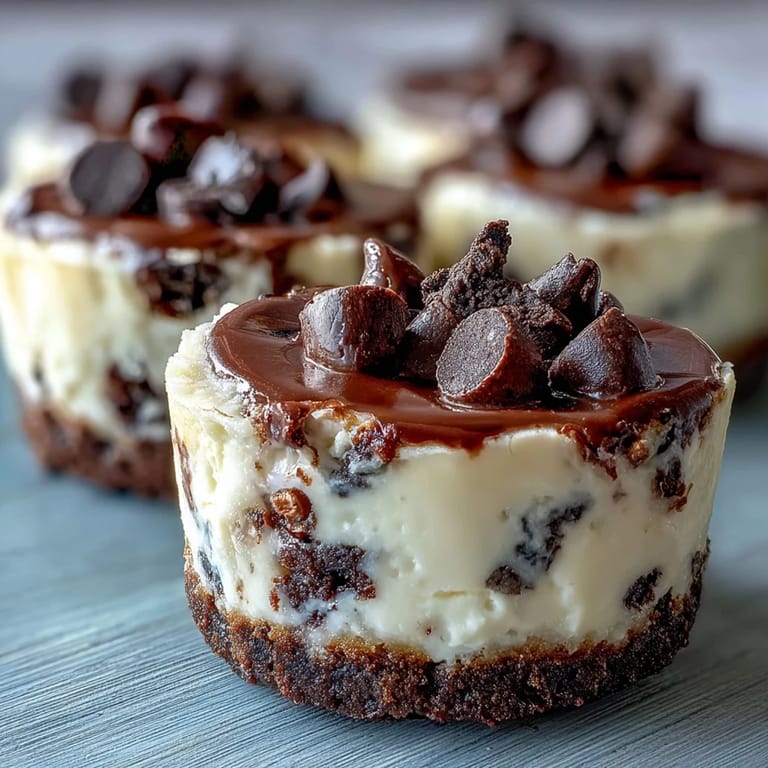
 There's something magical about the sound of a food processor whirring and the scent of melting butter blending with Oreos. These mini cheesecake bites have a way of drawing everyone into the kitchen, eager to see the treats emerge from the oven. I stumbled upon this recipe during a casual get-together, where the host buzzed about how quickly they vanished. The rich, creamy cheesecake paired with that crunchy chocolate crust was an instant hit. Now, I can't think of a gathering without them!
Once, I made a double batch for a family reunion, and as I watched the kids dive into the dessert table, the mini cheesecakes were the first to disappear. Their laughter filled the air, and I caught glimpses of chocolate-streaked faces, prompting everyone to come back for seconds. Even Uncle Fred, known for his strict diet, had to admit they were irresistible!
Ingredients
- Oreo cookies: The star of the crust, giving it that signature crunch and flavor everyone loves.
- Unsalted butter: Melted, it helps bind the cookie crust together perfectly.
- Cream cheese: This ingredient provides the rich, creamy base essential for any cheesecake.
- Granulated sugar: It sweetens the filling, balancing the flavors beautifully.
- Eggs: They give structure and stability to the cheesecake, ensuring it sets just right.
- Vanilla extract: A must for adding depth to the flavor profile.
- Sour cream: It adds a touch of tanginess and creaminess that's simply divine.
- Mini chocolate chips or chopped Oreos: Optional toppings for an extra pop of fun!
Tired of Takeout? 🥡
Get 10 meals you can make faster than delivery arrives. Seriously.
One email. No spam. Unsubscribe anytime.
Instructions
- Preheat and Prep:
- Fire up your oven to 325°F (160°C), and line a mini muffin tin with paper liners. This will get everything ready for your delightful cheesecakes.
- Make the Oreo Crust:
- In a food processor, pulse 24 Oreo cookies into fine crumbs and combine them with melted butter. The mixture should hold together when pressed.
- Form the Crust:
- Spoon about one tablespoon of the mixture into each muffin cup and press firmly down to create a solid base. You want them well-packed to support the filling.
- Bake the Crusts:
- Pop the crusts in the oven for 5 minutes; they should firm up and set beautifully. Once done, let them cool for a moment.
- Prepare the Filling:
- In a large bowl, beat the cream cheese until it's silky smooth before adding the sugar. Keep mixing and then gradually incorporate the eggs, vanilla, sour cream, and a pinch of salt until everything is well-combined.
- Fill the Cups:
- Divide the cheesecake mixture evenly among your prepared crusts, filling almost all the way to the top. Try to make them as uniform as possible for a lovely presentation.
- Bake to Perfection:
- Place filled muffin tins in the oven and bake for 12-14 minutes; the centers should be set yet still slightly jiggly. That's the sweet spot for perfect cheesecake!
- Cool and Chill:
- Let the mini cheesecakes cool at room temperature for 30 minutes before chilling them in the refrigerator for at least an hour. This step is crucial for that creamy texture.
- Top and Enjoy:
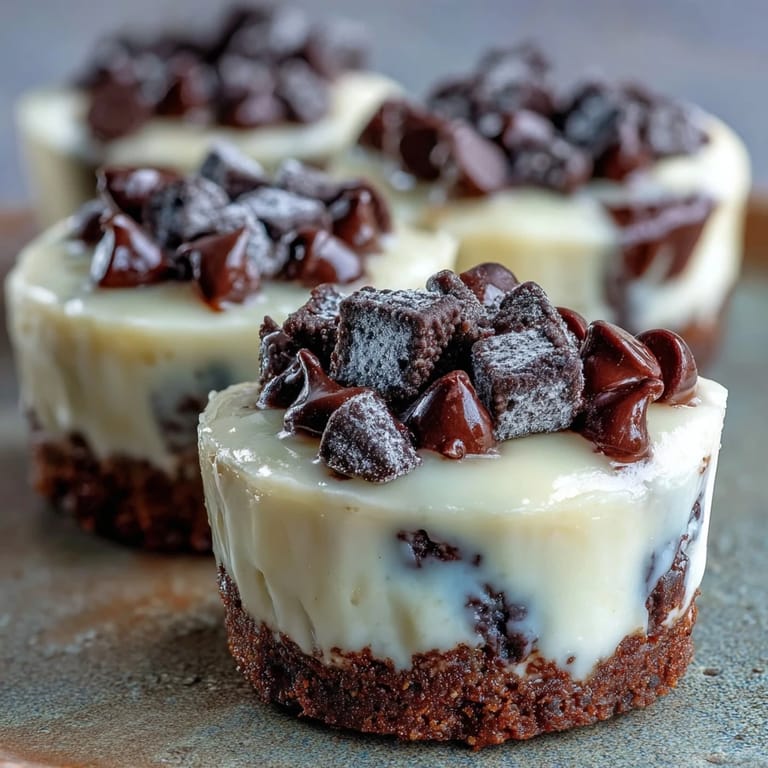
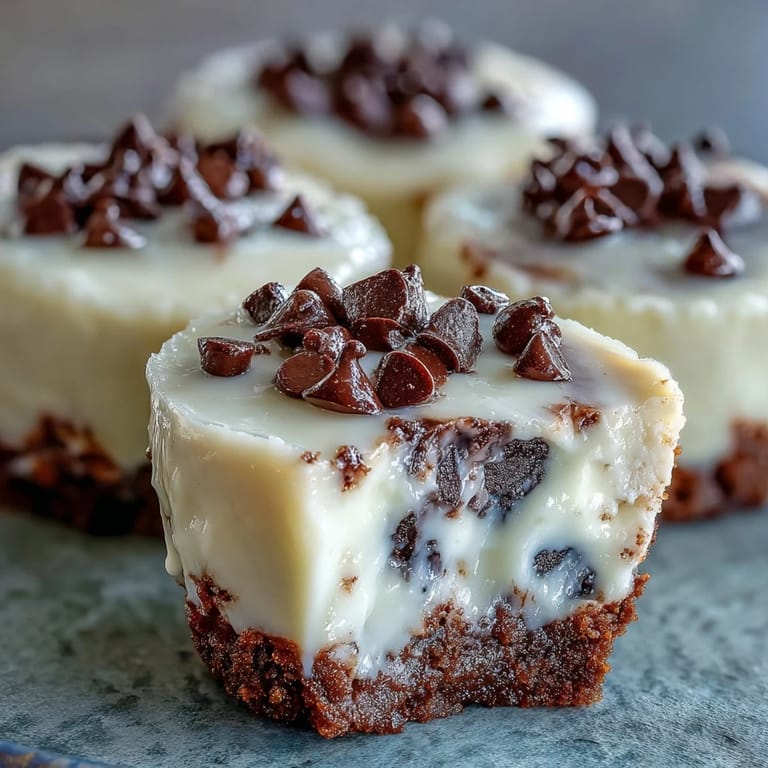
- Once chilled, feel free to top with mini chocolate chips or fresh berries for a burst of color and flavor. They're ready to impress!
 Save to Pinterest
 It’s heartwarming to witness people's expressions as they take that first bite of these mini cheesecakes. They transform any gathering into a celebration, creating little moments of joy that linger longer than the dessert itself.
Experimenting with Flavors
Don't hesitate to experiment with different flavors in the filling; adding lemon zest or a swirl of caramel can change everything! Every time I explore a new combination, it feels like discovering a treasure hiding in plain sight.
The Perfect Party Snack
These bites are perfect for any occasion, whether it’s a birthday, holiday, or just a nice Saturday treat with friends. They serve as a great conversation starter, pulling everyone to the dessert table.
Storing and Serving Tips
To keep your mini cheesecakes fresh, store them in an airtight container. They freeze well too, so make a batch ahead of time if you’re expecting guests!
- Allow frozen bites to thaw in the fridge before serving; they taste just as fresh!
- Consider adding a drizzle of chocolate sauce on top for elevation.
- Remember to always let them cool before chilling; it enhances the texture.
 Save to Pinterest
 These mini cheesecake bites will become a go-to for celebrations and sweet cravings alike, bringing joy not just through taste but through the memories you create while making them.
Recipe FAQs
- → How do I prevent lumps in the cheesecake filling?
Make sure the cream cheese is fully softened before mixing. This helps achieve a smooth and creamy texture.
- → Can I use a different type of cookie for the crust?
Yes, you can substitute with gluten-free chocolate sandwich cookies for a gluten-free version.
- → How long can I store these mini cheesecake bites?
Store them in an airtight container in the freezer for up to 1 month for the best quality.
- → What’s the best way to serve these bites?
They can be served chilled directly from the fridge, or topped with mini chocolate chips and fresh berries for a beautiful presentation.
- → Are these cheesecake bites suitable for vegetarians?
Yes, these mini cheesecake bites are vegetarian-friendly as they contain no meat products.