 Save to Pinterest
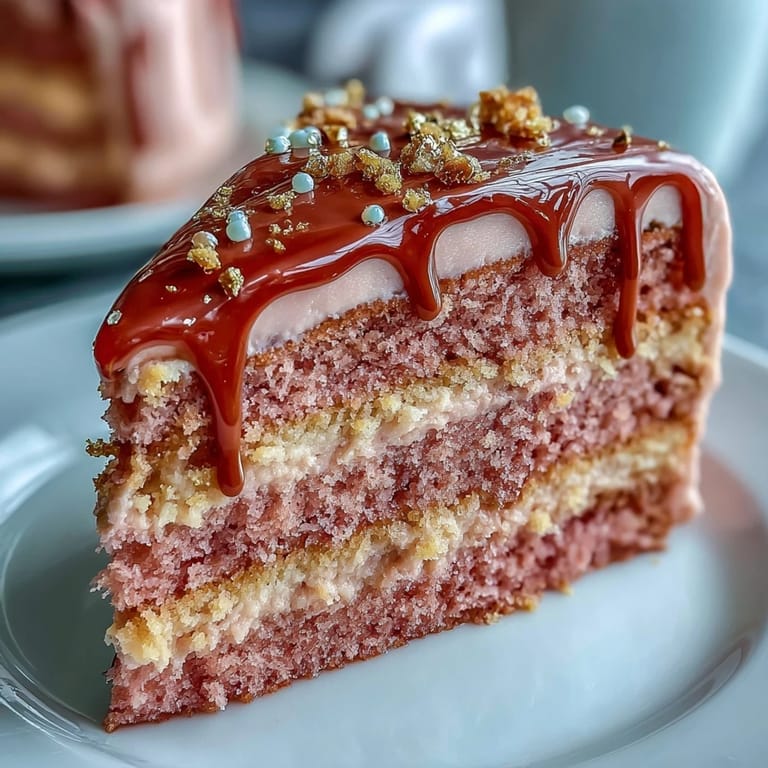
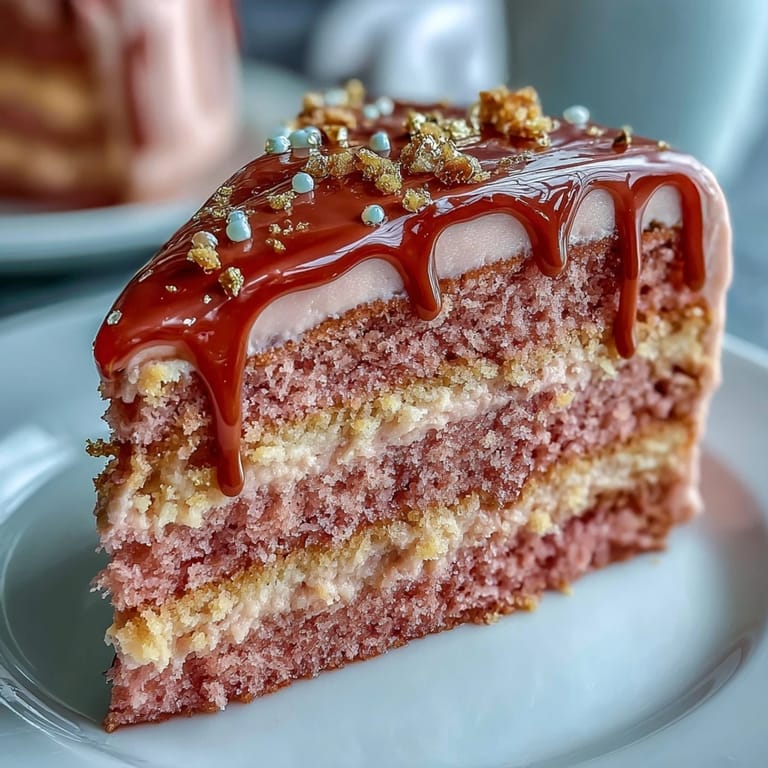
 Some cakes immediately fill the kitchen with a sense of occasion—this Rosé Velvet Cake is firmly in that delicious category. When I first attempted it, the scent of rosé wine swirling with vanilla felt playful and a little bold, like the clinking of glasses at a party you’re excited to attend. There’s a hush when you swirl in that pink hue, watching it fold into a creamy batter that’s both celebratory and comforting. The best part is, even the little slips—like a streak of frosting on your shirt or drips of ganache tumbling down—become part of the memory. It’s the kind of recipe meant for moments that call for a touch of sparkle, whether or not there are actual bridesmaids nearby.
I once made this cake for my friend’s garden bridal shower, the day bursting with laughter and just enough sun to make the frosting a little soft. Friends leaned in over slices, joking about wedding-day jitters, smudging gold luster dust onto their fingertips. Someone snapped a photo right as a petal of edible flower slipped down the side, icing the moment forever. There was something quietly special about watching a cake bridge conversations and celebration. You realize, as plates clean, just how much joy is in truly sharing a creation like this.
Ingredients
- All-purpose flour: Sift it well for airy layers and a finer crumb, and don’t be tempted to overpack your cup.
- Cornstarch: Makes the cake tender—toss it through your dry ingredients to avoid clumps.
- Unsweetened cocoa powder: Just enough for depth and a true “velvet” note, but don’t use Dutch-processed or it will alter the color.
- Baking soda: Gives the layers a gentle lift and keeps them ultra soft.
- Salt: Every sweet needs a pinch to sing—don’t skip it!
- Unsalted butter: Taste is everything, so use high quality, and make sure it’s softened for the smoothest batter.
- Granulated and light brown sugar: The blend adds little caramel notes and softness; always cream for longer than you think.
- Eggs: Room temperature is key—they whisk in so much more easily and keep the texture light.
- Rosé wine: Choose a fragrant bottle you’d enjoy sipping, since flavor comes through beautifully.
- Buttermilk: Adds that signature velvet tang and tenderness—don’t sub with milk if you can help it.
- Vanilla extract: Warmth and depth shine, so use pure if you can.
- Pink gel food coloring: Optional, but one dot goes a long way for that Champagne blush.
- Cream cheese: Let it fully come to room temp for the silkiest, lump-free frosting.
- Confectioners’ sugar: Always sift, or you’ll chase stray lumps around your bowl forever.
- White chocolate chips and heavy cream: Together, they form the dreamy ganache base for those gold drips—don’t rush the melting stage.
- Edible gold luster dust, and clear vodka/lemon extract: This is where the magic and the celebration meet.
Tired of Takeout? 🥡
Get 10 meals you can make faster than delivery arrives. Seriously.
One email. No spam. Unsubscribe anytime.
Instructions
- Prep the pans and heat the oven:
- Warm the oven to 350 F and line three pans—parchment circles make lifting cakes a dream.
- Mix your dry ingredients:
- Sift flour, cornstarch, cocoa powder, baking soda, and salt together so every bite turns out pillowy and even.
- Cream the butter and sugars:
- Beat butter with both sugars until pale and fluffy, listening for that soft thwap against the bowl that means you’re there.
- Add the eggs and vanilla:
- Drop in eggs one by one, scraping the bowl as you go, then swirl in the vanilla—don’t rush it.
- Combine the rosé and buttermilk:
- Mix them in a jug; they may look curious together but create cake magic in the oven.
- Build your batter:
- Alternate adding dry ingredients and wet, starting and ending with dry—add pink coloring until you reach your dream hue, then stop.
- Divide and smooth:
- Scoop batter into pans and smooth the tops; a gentle spin on the counter levels them out.
- Bake and cool:
- Bake about 30 minutes, and don’t check too early—a toothpick should emerge clean. Cool in pans briefly before turning out onto a rack.
- Make the frosting:
- Beat cream cheese and butter until creamy, add sugar bit by bit, then the vanilla and salt. Whip until cloudlike.
- Assemble and frost:
- Layer cakes with generous swipes of frosting, smoothing around and on top with an offset spatula. Chill to set before decorating further.
- Create the gold drip:
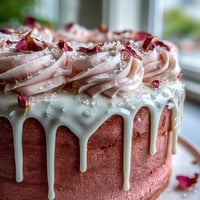
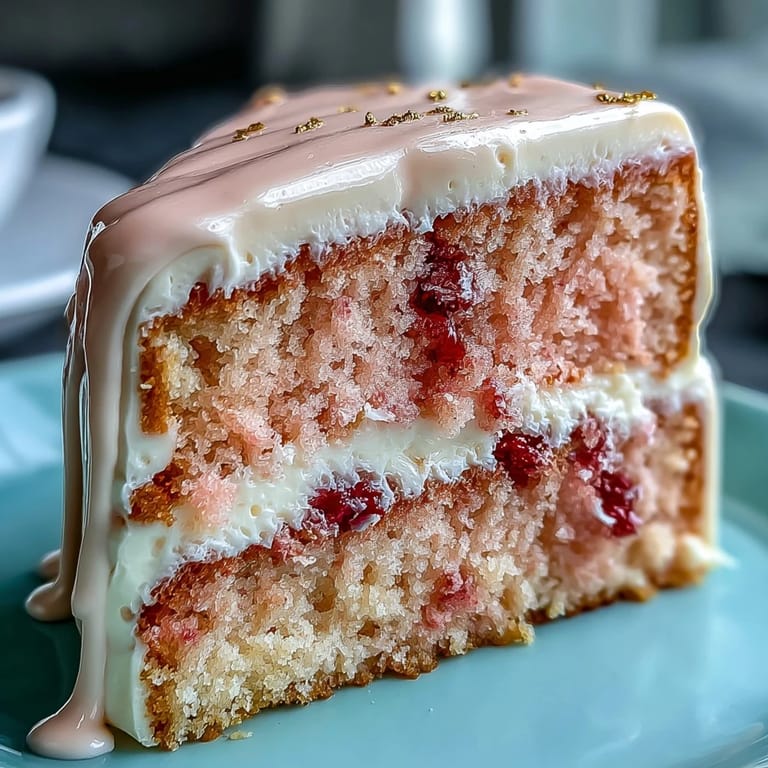
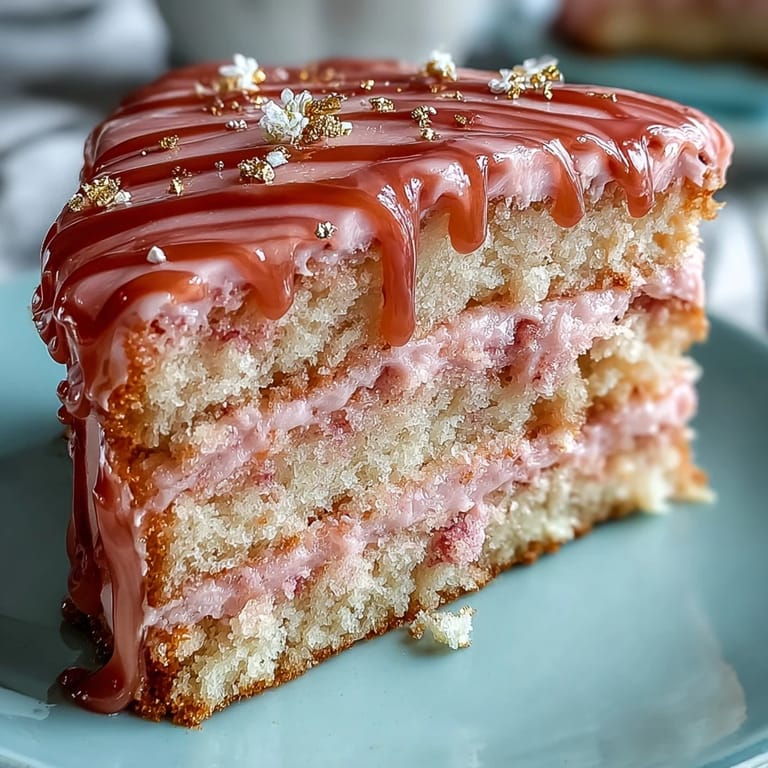
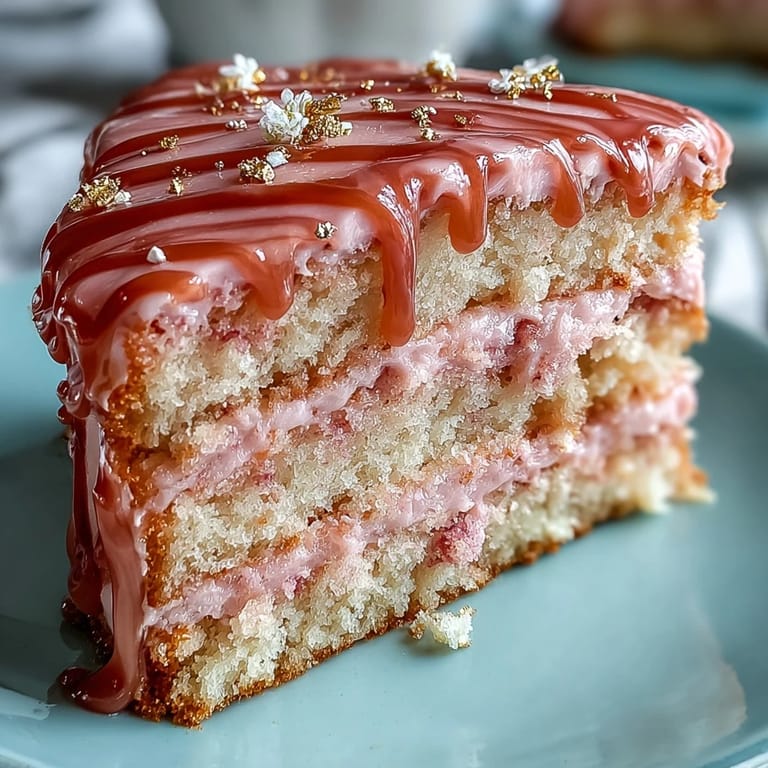
- Gently melt white chocolate and cream until glossy, let cool a bit, then drip along the edges—tilt the cake if you need help. Chill again to set.
- Paint the gold:
- Mix luster dust with a drop of vodka or lemon extract and paint the set drips with a tiny brush for that showstopper look.
- Decorate to finish:
- Adorn with edible flowers, gold leaf, or berries, and don’t overthink it—imperfection is part of the celebration.
 Save to Pinterest
  Save to Pinterest
 Long after our party, a friend texted a photo of the last shimmering slice, saved for midnight cravings—proof a great cake lingers in more ways than one. Right then, I knew this recipe had moved beyond novelty to become a marker of small, shared celebrations.
Choosing the Right Rosé for Cake
Dry rosé with bright fruit notes makes the cake subtly sophisticated instead of cloying; avoid anything overly sweet or oaky. I’ve tried both faintly bubbly and still versions—the bubbles disappear but the flavor remains vivid, like summer strawberries meeting vanilla clouds.
How to Get the Perfect Pink Hue
Less is more with gel food coloring; add it gradually on a toothpick rather than squeezing straight from the bottle. I’ve learned to judge the batter by holding it up to the daylight—if it looks a touch bolder than you want, it’ll bake to pastel perfection every time.
Gold Drip Drama: Troubleshooting and Tips
Don’t panic if your first drips seem uneven—they settle as the ganache cools, and gold paint covers imperfections. Always use a light touch when painting the gold—dab and sweep gently, as too much liquid left on the brush can melt through the chocolate slightly, creating holes. If your ganache seems too runny, let it sit at room temperature for a few minutes and try again, or test on the back of the cake first to check the consistency.
- Let the cake rest in the fridge for at least half an hour before painting the gold drip for the cleanest results.
- Reserve a little extra frosting to touch up any accidental handprints or dings.
- If your kitchen is warm, keep decorations simple and chill as needed—the magic holds up best when cool.
 Save to Pinterest
  Save to Pinterest
 Here’s to making every gathering a little more golden—and to cakes that make you laugh, linger, and celebrate exactly where you are. Save a slice for quiet moments; the sparkle tastes just as good solo.
Recipe FAQs
- → How do I get a consistent pink hue?
Add gel food coloring sparingly and adjust until you reach the desired blush; the rosé also imparts a subtle tint, so start light and increase as needed.
- → Can I omit the alcohol without losing flavor?
Yes—use pink grape juice or sparkling cider in place of rosé to preserve the fruity character while keeping the same liquid ratio for batter balance.
- → How do I make the gold drip shine without smudging?
Allow the white chocolate drip to fully set in the fridge, then mix gold luster dust with a small amount of clear vodka or lemon extract to make a paint and delicately brush over the set drip.
- → What causes a dense crumb and how can I avoid it?
A heavy batter often results from overmixing once flour is added; fold gently when combining dry ingredients and liquids, and ensure leavening agents are fresh for a lighter crumb.
- → How long should I chill before decorating?
Chill the frosted cake for at least 30 minutes to firm the crumb coat before applying the drip; colder temperature helps control drip flow and keeps edges neat.
- → Any tips for piping and finishing details?
Use a chilled frosting and an offset spatula for smooth sides. If piping swirls or borders, slightly thicken the frosting by chilling briefly so details hold their shape.